Showing posts with label DIY. Show all posts

Friday, July 8, 2016

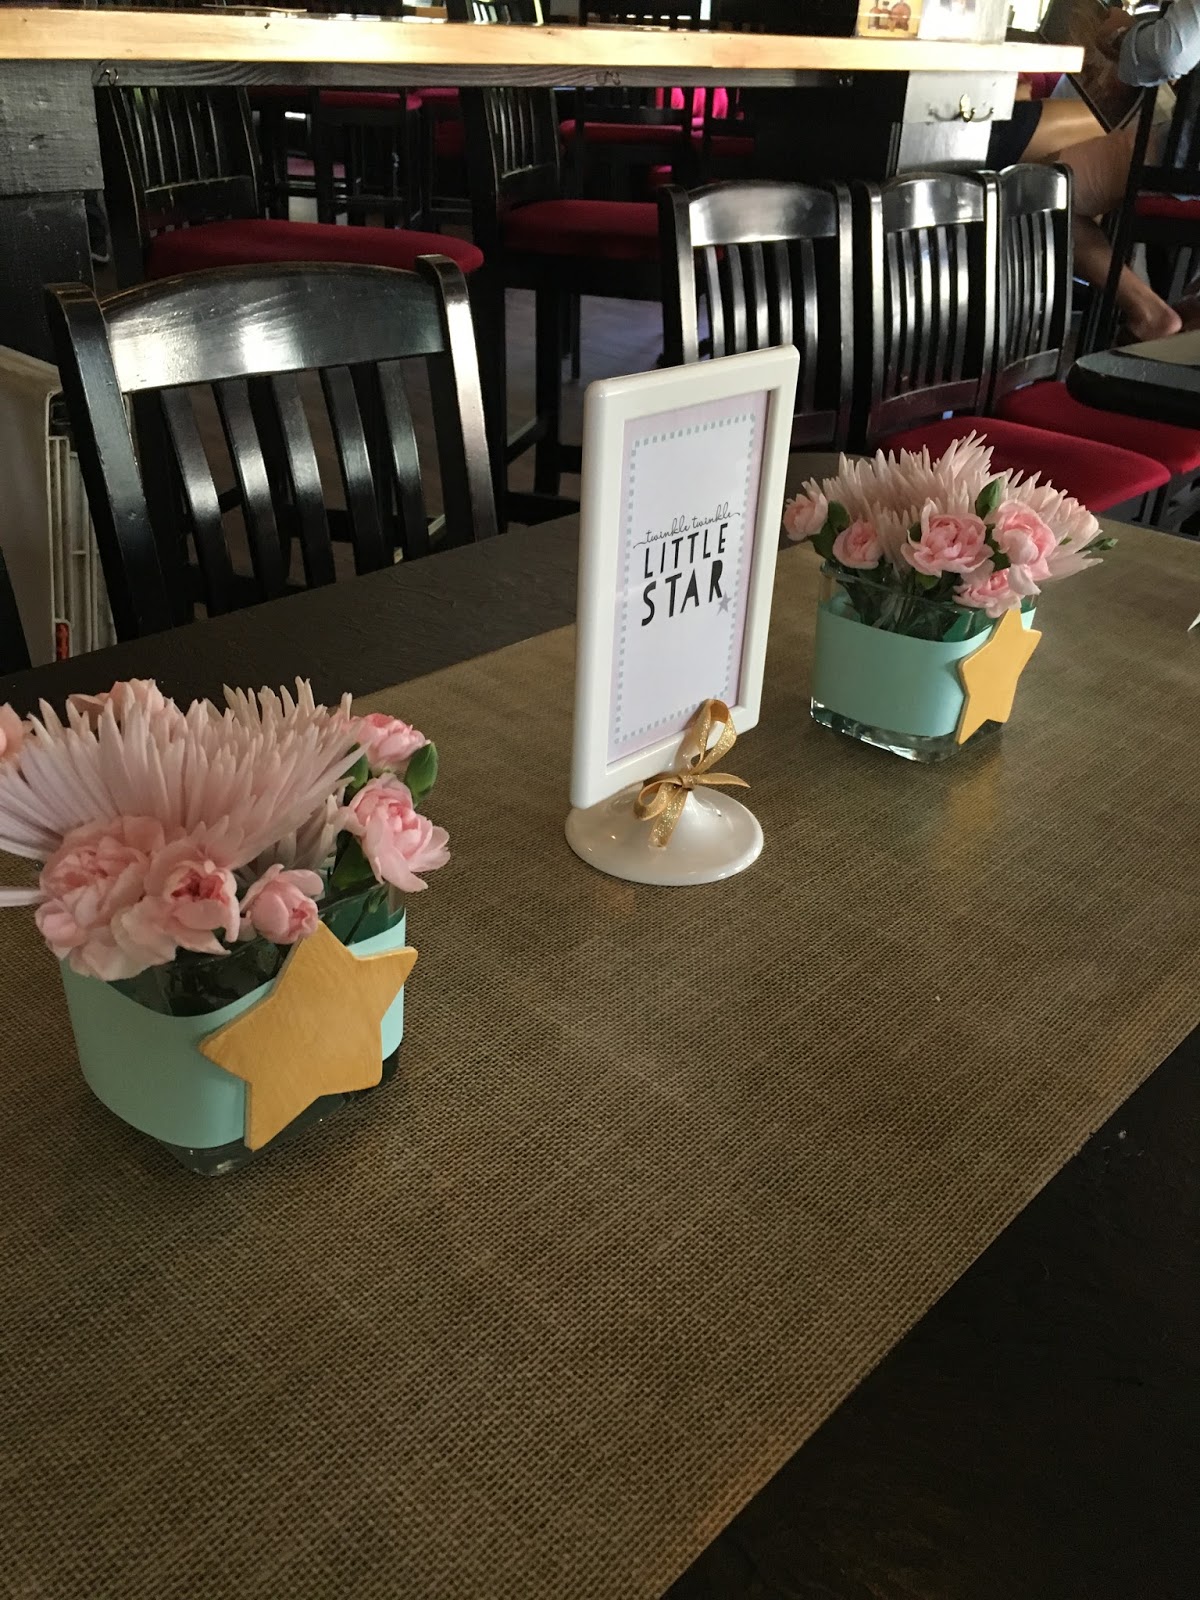
Twinkle Twinkle Little Star Baby Shower

|intro|

I had the honor of helping host a baby shower for our close friends. She was having a little princess and wanted to have a classy and simple theme.  Twinkle Twinkle Little Star theme was the perfect fit!


|DIY Twinkle Twinkle Little Star board decor background by me|

|cake topper from Paper & Parties Co.|

|stitched treat bags by Sunshinebelinda's Blog|

|DIY treat sign by me|
|3D gold star table decor by me|


|cookies by Korino Sweets|

|chocolate pretzel rods by Anna|

|cake pops by me|

|french macarons by Oui Desserts|
|DIY dessert table risers by me|

|cotton candy ice cream cones by Jenny|

|DIY table signs by me|
|DIY floral arrangements by me|

|DIY mom to be corsage by me|

|gift table|

|DIY Wishes for Ava sign in by me|
|DIY table sign by me|

|fabric banner by Sunshinebelinda's Blog|

|decorative wooden block letters by Sunshinebelinda's Blog|

|DIY star themed diaper cake by me|


Sunday, February 14, 2016

{Be Mine Valentine} DIY Valentine Monster Card Box

|intro|

Our little man had a Valentine's Day Party at his school this past Friday.  The teachers asked the parents to bring a card box and Valentine's Day cards.  Of course, being the Domesticated Diva I wasn't going to bring an average box or average cards for my son.  I decided to make him a monster themed box and cute valentine's day cards.  Here's what I came up with.


|what you will need|

+ shoe box
+ glue gun
+ styroform balls
+ foam sheets
+ letter stickers
+ craft paints
+ pipe cleaners


|how to|

{1} Cut a hole on the lid of the shoe box.  Make sure the hole is large enough about 4 x 7.  Use the glue gun to glue the lid to the box.  


{2} Use craft paint to color the box.  Use two coats, making sure the paint is dry between coats.

{3} Now the fun part...decorating!  I started off glue gunning the eyes (Styrofoam balls) to the top. I cut out the monster's feet out of foam sheets.  Then I spiraled the pipe cleaners for the monsters antennas and glued hearts on top of them.  I had left over small wood heart shapes that I painted black for the eyes.  I cut out random shaped teeth and glue gunned the teeth to the inside of the box.  Then I just used letter stickers to spell out my son's name.


|final product|


|diy valentine's day cards for teachers and classmates|

I also made labels for Valentine's Day cards for his classmates and teachers.


|for his classmates|

{cheez! i'm crackers over you valentine!}


{for the teachers}

{a little treat for a teacher so sweet!}


Saturday, February 6, 2016

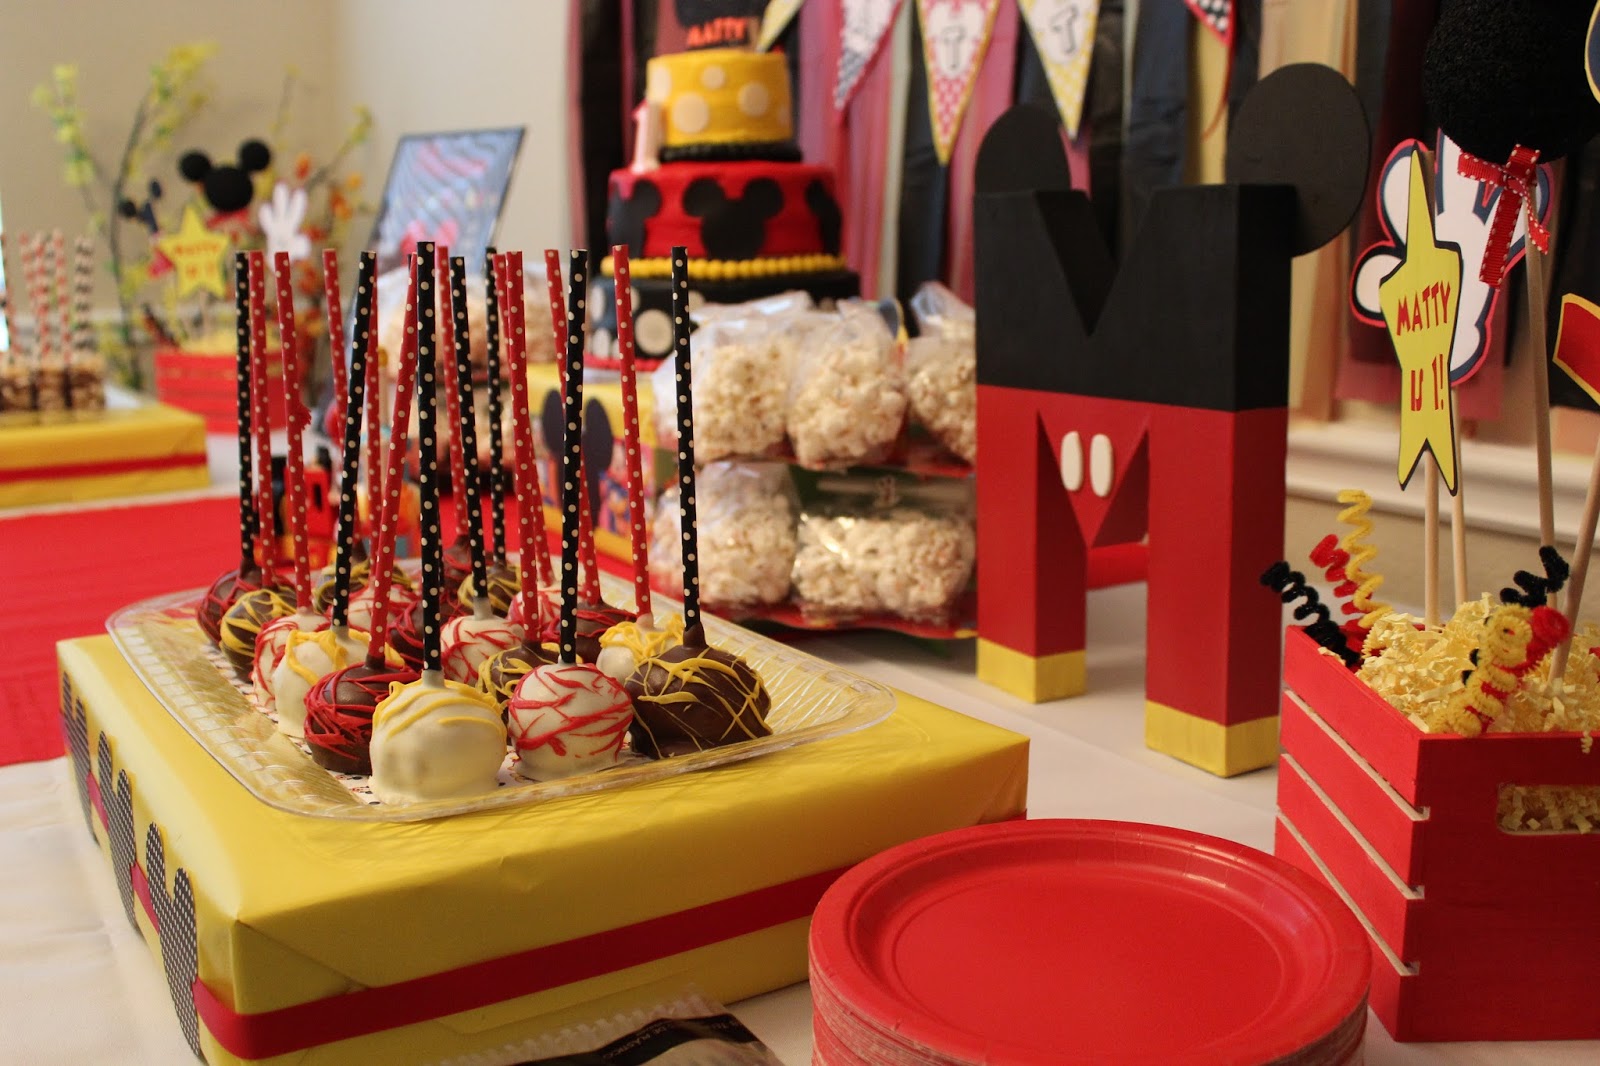
Mickey Mouse Clubhouse DIY Party Ideas

|intro|

Matty is a huge fan of the show Mickey Mouse Clubhouse.  So it was only fitting that it was his theme for his first birthday.  There were so many ideas that could be centered around this theme.  I made about 90% of everything, it was time consuming but very worth it.  Below are a few things I DIY'ed.  I think everything came out great!  


|DIY Mickey Mouse Monthly Milestone Banner|


|DIY Mickey Mouse Clubhouse Favor Tags|


|DIY Mickey Mouse Dessert Table Backdrop|
|DIY Mickey Mouse Birthday Banner|


|DIY Mickey Mouse Food Risers|
|DIY Mickey Mouse Clubehouse Birthday Milestone Poster|
|DIY Rice Krispies Treat Pops|
|DIY Funfetti Popcorn Favors|


|DIY Cake Pops|
|DIY Mickey Mouse Initial Letter|


|DIY Mickey Mouse Theme Table Centerpiece|


|DIY Mickey Mouse Photo Booth Frame|
|DIY Picture Head Photo Prop|


|DIY Mickey Mouse High Chair Banner|
|DIY Mickey Mouse Birthday Headband|


|DIY Mickey Mouse Cake Topper|


Wednesday, July 8, 2015

Miniature Garden DIY

|intro|

I have always been fascinated by miniature gardens.  They are truly whimsical and just put a smile on my face.  I took a shot at doing one for mother's day.  It was so easy to do and I had a great time making it.


|what you will need|

+ pot of your choice (I picked a pot that was fairly shallow, but had a wide opening)
+ decorations for your miniature garden (all from Hobby Lobby)
+ succulent plants
+ aquarium gravel
+ soil


|how to|

{1} First, figure out the layout of your miniature garden.  My pot was not that large so I tried to utilize as much surface area that I could, so I planted the plants towards the side of the pot. 

 
{2} Next place the aquarium gravel on the soil.  This will act like your "walkway" in your miniature garden.  Also, I placed the miniature garden fencing along the border of the pot. 


{3} Now the fun part...decorating!  I bought all the decorations at Hobby Lobby.  They actually had a section at the store dedicated to miniature gardens.  I got the fence, mushroom, bench, birdhouse, and metal wagon, and snail at the miniature garden section.  I got the miniature pots and garden tools at the doll section of Hobby Lobby.  You can definitely play around with the set up of your garden.  I really enjoyed making this cute miniature garden and hope to make a larger scale one in the future!


Friday, May 8, 2015

DIY Mother's Day Footprint Art

|into|

Who doesn't like homemade gifts?!?  I mean anyone can just buy something.  It takes effort making something, especially when your 6 month old is helping make it.  Well, Mother's Day was just around the corner, so I decided Matty would make something a little special for his Grandma!


|what you will need|

+ picture frame (I used a 5x7)
+ thick white cardstock
+ nontoxic finger paint
+ sponge brush
+ painters tape
+ thin permanent marker


|how to|


{1} Cut out the white cardstock to 5x7 dimension.

{2} Tape the cut out card stock to either a scrap cardboard piece or a firm folder using painters tape.  This allows for stability and (hopefully) less chance of messing up.

{3} Since we were making a heart, I chose the color red.  Take the sponge brush and brush a light coating of finger paint onto the bottom of your child's foot and toes.  Gently press the foot onto the cardstock.  This is easier if you have another person helping aka your husband lol.

{4} Repeat step 3 on the other foot.


{5}  Allow the paint to dry for at least 2 hours.

{6} Once paint is dry, write "I LOVE GRANDMA", "I LOVE YOU MOM", or whatever phrase you choose around the outline and repeating the phrase until you write it all the way around.


{7} Frame the cardstock, and you are done!