Showing posts with label Gifts. Show all posts

Tuesday, October 23, 2012

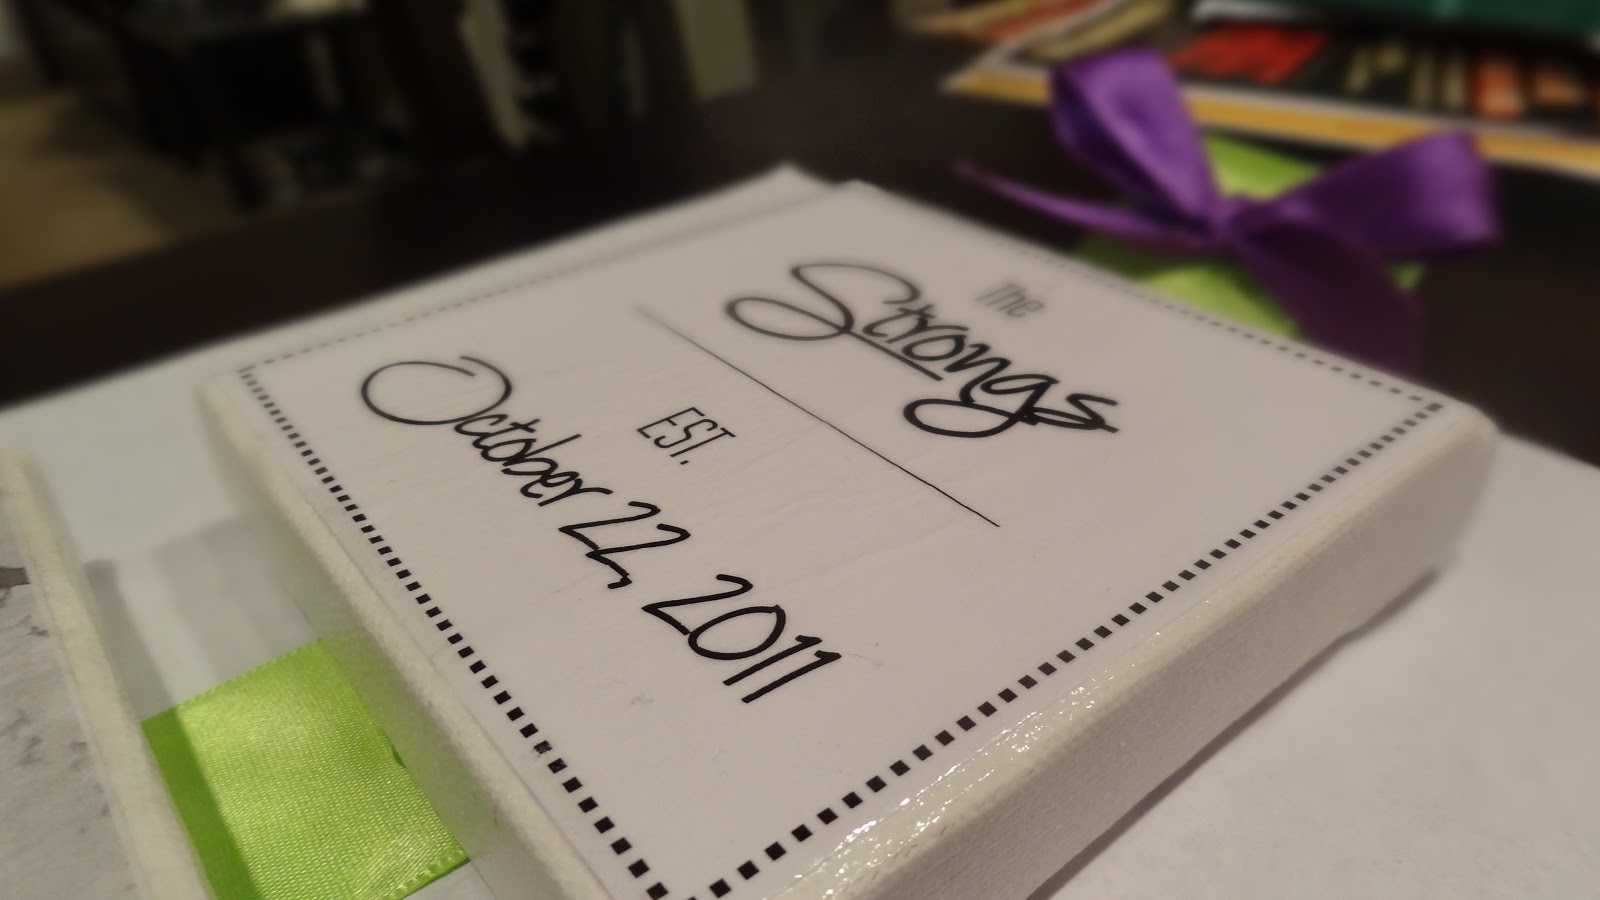
Love and Marriage...DIY Photo on Canvas Anniversary Gift

Tradition has it that you are suppose to give a "paper gift" for your first anniversary.  See Anniversary Symbols and Meanings.  This is suppose to symbolize the strength in paper that comes from the interlaced connection of the paper's individual threads. So, I wanted to incorporate paper into my DIY gift.

Here's what I came up with...


All you need is:
-4" x 4" canvas (Quantity 2)
-Mod Podge
-Ribbon
-Pictures printed on heavy wt paper (at least 90 lb card stock)
-E6000 Glue (or another type of heavy duty glue)
-Paper Cutter
-Disposable Paint Sponge or Brush


Print your picture and design on your paper.  I design these at a dimension of 3.8" x 3.8" so that there was no overlap on the canvas.  Cut your paper using your paper cutter.


Apply a layer of Mod Podge to the canvas.  While the canvas is still wet, center your picture onto the canvas.  Apply pressure and smooth out any bumps or bubbles that may form.  Allow this to dry for about an hour.

After the canvas is pretty dry apply another coat of Mod Podge on top of the picture to seal it on the canvas.  Allow the canvas to dry again for about an hour.  Then apply a second top coat, and allow it to dry completely overnight.

Then, turn the canvas over onto it's backside and apply the E-6000 glue to the back where you want to place the ribbon.  Apply pressure to the ribbon where the glue is to ensure it sticks.  I looped the ribbon on the top, so there would be a place to hide the thumb tack when you hang it on your wall or cubicle.

Here's the final product...


Domesticated Diva Cost:

Blank Canvas: $1.80 (originally $2.99 but 40% off) = $3.60 for two)
Mod Podge, Ribbon, Paper Cutter, Paint Brush, E-6000 Glue, and Paper: FREE (already had)

Total Cost of Project: $3.60

Friday, January 13, 2012

Season of Giving...DIY Professional Gift Wrapping

You do not have to spend a lot of money on gift wrapping.  All you need is some cheap embellishments, wrapping paper, ribbon, and some creativity. 

Here is what I used...
  • brown Kraft paper
  • wrapping paper with a simple design (try not to pick a print that is too busy, since you are going to embellish it even more)
  • white tissue paper
  • double sided tape
  • regular clear tape
  • festive scrapbook paper
  • gift tags
  • embellishments (small ornaments, Christmas tree picks, ribbon, etc.)


Here are a couple of examples of how to wrap gifts...

Design #1 (Odd Shaped Gifts):
I had to wrap a soccer ball for my nephew.  I didn't want to put it in a gift bag, because it would take up too much room since I was shipping this to him.

1.) Cut a fairly large square piece of wrapping paper.  Also, you will need at least 3-4 sheets of tissue paper.  Put the wrapping paper print side out, add the layers of tissue paper next, and then the gift.


2.) Pick up one corner of the wrapping paper, and bring it across diagonally to the other corner like so...


3.) Repeat on the other side, and gather the corners together...


4.) Tie a ribbon to secure it and add an embellishment.


Design #2:


Design #3:


Design #4:


Design #5:


Design #6:


Other Designs:


Now, all (or most) of the presents all together =)


Cost Breakdown:

About $0.50-$1.00 per each gift

Not too shabby!

Friday, November 11, 2011

Toast to the Good Life...DIY Personalized Bridesmaid Wine Glasses

I really wanted to incorporate my Domesticated Diva touch to at least one of my bridesmaid's gifts.  I decided personalized wine glasses would be both beautiful and functional =)

I bought 6 wine glasses, and ensured I washed and dried the glasses very well prior to starting my crafting project.  Washing the wine glasses, ensures all finger prints, oils, dirt and dust are removed.  I bought craft paint specially made for glass, and I bought paints that match our wedding colors =)  This is the paint I bought...


I then printed my bridesmaid's names out to use it as a guide.  I used a font that would be fairly easy to use and thick enough to see. 


I cut the names to a manageable size, and taped it to the inside of the wine glass...


I then began painting their names.  If you happen to mess up, you can wipe it off with a wet paper towel and it should be fine.  I bought a fairly thick paint brush, if I had to do it again I would purchase a thin brush instead.  I painted their names once, and let it dry for about 30 minutes.  Then, I applied a second coat of paint, so that their names and purple color appeared clearly.  Here is a pic after I painted the names...


I then decided I would do a poke-a-dot design around the names, since that seemed to be the most easiest.  I also applied two coats to the poke-a-dot design...


Per the instructions on the paint bottles, you must bake the glass to set the paint.  Baking the glass, ensures the paint will not come off after it is used.  Baking it also seems to make the paint appear glossier.  Here's a pic after the wine glasses were baked...


I then washed the glasses again with soapy water.  To finish off the gifts, I decided to tie a ribbon around the stem of the glass like so...


Now, uncork that wine bottle and have yourself a nice glass of vino!