
 |
| Picture found on Pinterest |
It is really genius, because it is so simple.
All you need is:
-A Roll of Brown Craft Paper (you usually can find this where the gift wrapping paper is)
-Painter's Tape
-Pencil
-Hammer
-Picture Hanging Hardware (you can find a cheap pack of them at Home Depot)
-Picture Frames, Wall Letters, Wall Decor, etc.
Some tips for choosing frames and wall decor:
-Use the same color scheme (I used black frames.)
-Choose unique wall decor elements like initial letters, inspirational quote wall art, small mirrors, small decorative elements, etc.) I found Hobby Lobby had a lot of neat wall decor and at great prices.
-Space your frames and wall decor evenly. I find spacing them closer together gave them a finished look. DON'T SPACE THEM TOO FAR APART.
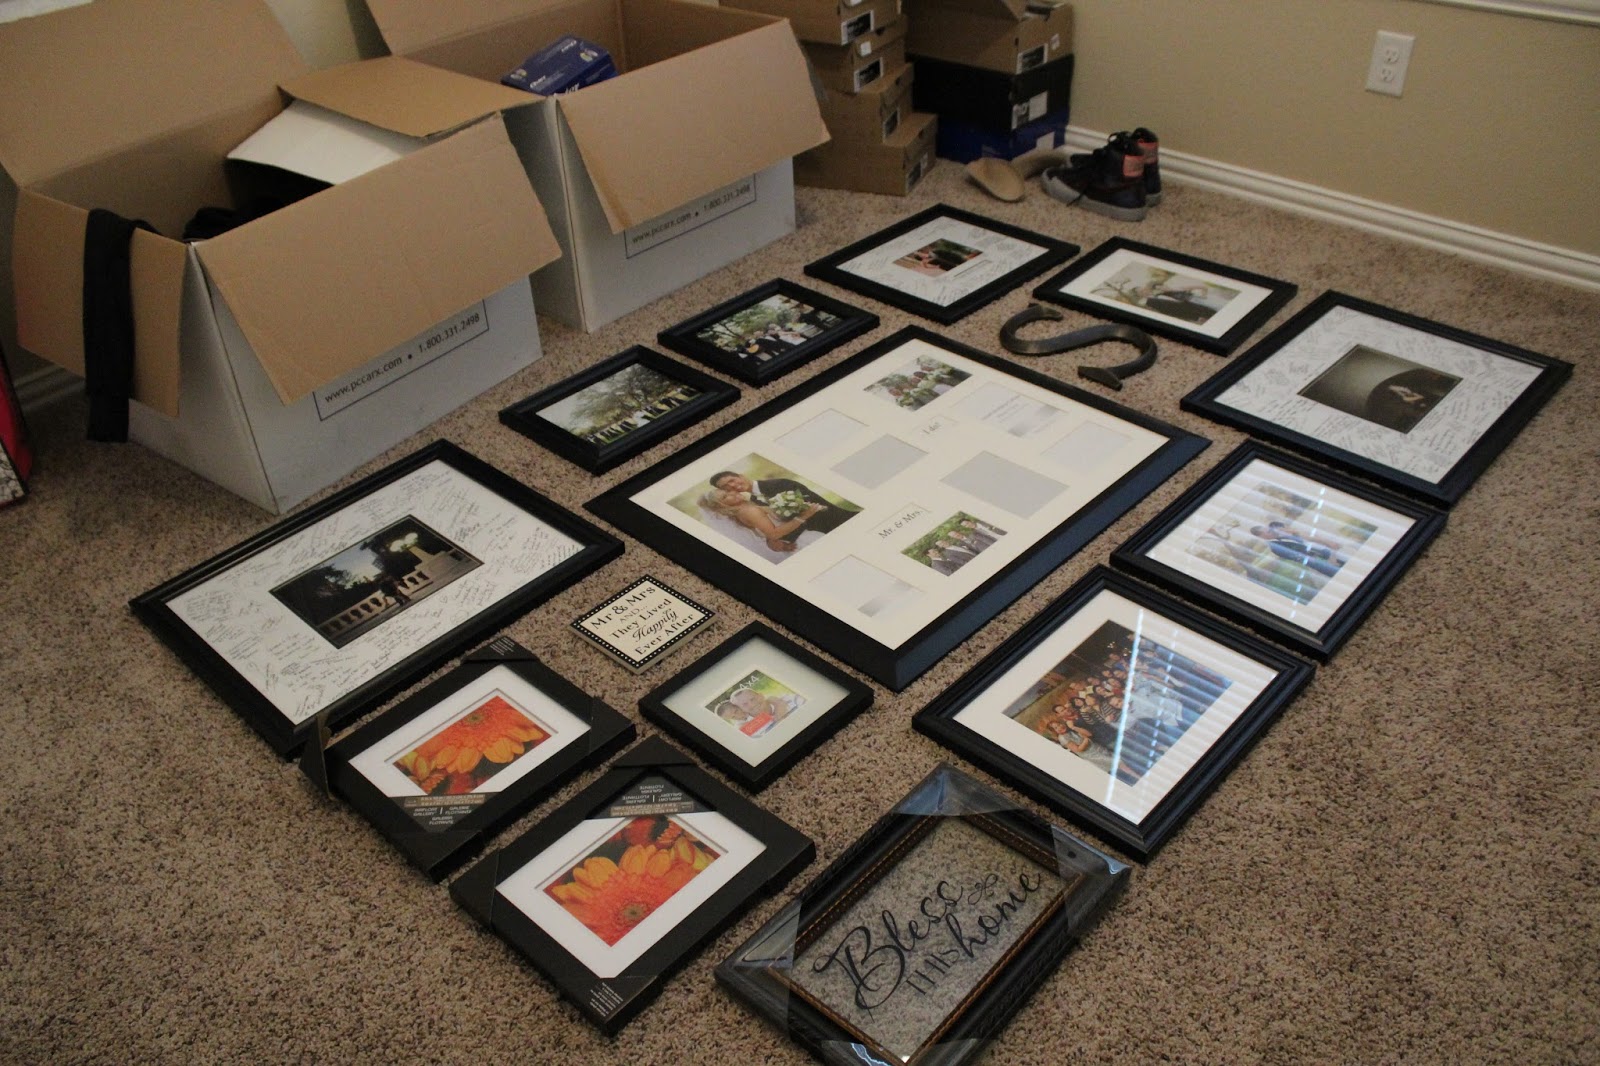
-Play around with the collage arrangement on the floor. Make sure you move the items around until you get the look you want.
-Make sure your arrangement has some sort of symmetry. I had a center frame as a focal point and worked my way out. You can also form a square/rectangle with your frames to make it more appealing.
Step 1: Trace your frames and wall decor on the brown craft paper with a pencil. Then cut along the outline. Write which picture or wall decor on the front side of the craft paper. That way when you tape the craft paper to the wall you know which frame goes there. For instance, for the below frame I wrote "Bless This Home Frame" on the front of the craft paper cut out.

Step 2: Flip the picture frame or wall decor, so the backside is facing up. Find where the nail should be on the hook. Make sure it's centered and poke a hole through the craft paper. Now do this to the rest of the frames and wall decor.

Step 3: Figure out your wall collage arrangement. This took me awhile to figure out, but I eventually came up with this. I then took a picture of the arrangement, just to make sure I was placing the frame or wall decor in the right place on the wall.
Step 4: Tape the cut outs to the desired wall. I just taped the corners of the cut outs, so you don't have to waste more tape than you need to.

Step 5: Hammer in the picture hanging hardware into the holes you made earlier. Carefully, peel away the craft paper and hang your frames and wall decor.


I did not have to redo any of the holes I made, because this technique is so accurate. This does take a little more time, but as you can see the extra work really does pay off.


