After seeing so many cute themed Christmas trees at department stores, such as these...
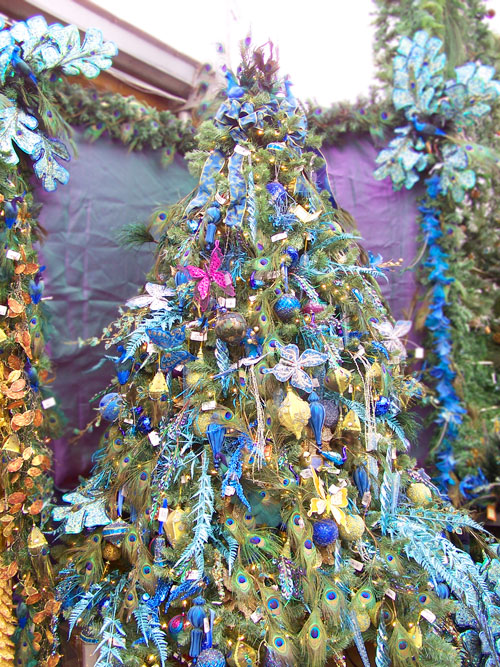
Peacock Themed Christmas Tree
Wine Themed Christmas Tree
Princess Themed Christmas Tree
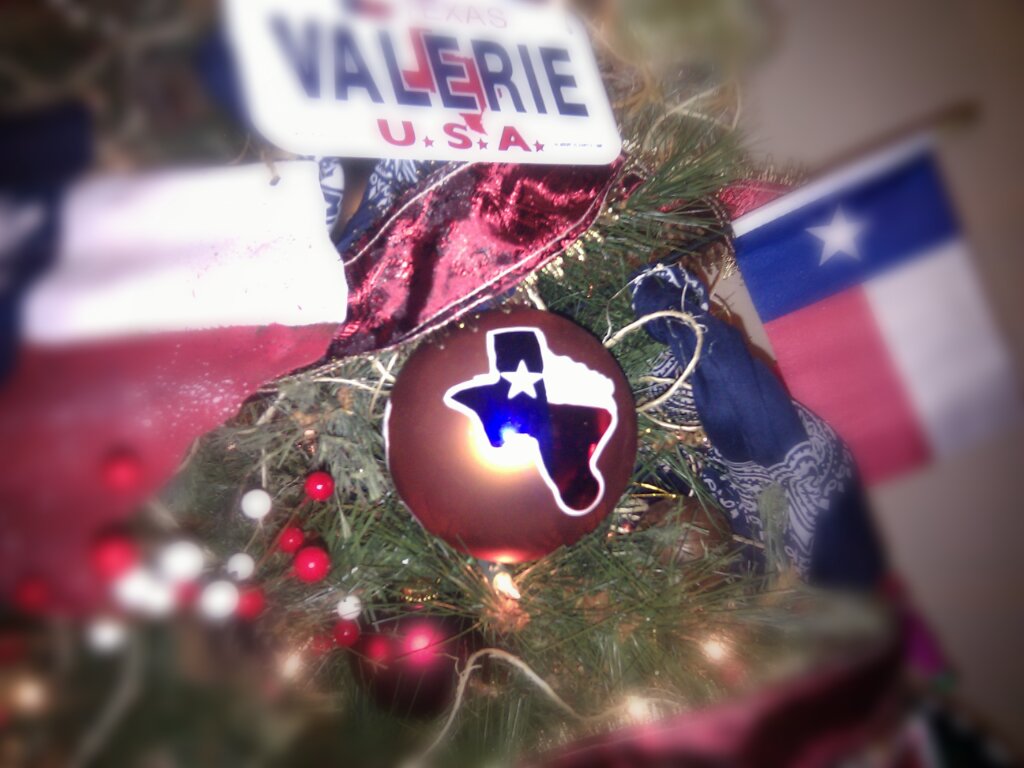
...I decided I needed to have a themed Christmas tree. I wanted a theme that would not go out of style easily. I decided a Texas tree was the way to go! We bought our 7.5' Slim Virginia Pine Tree at Target. I loved this tree because 1.) It was prelight (easy set up!), 2.) It was artificial (no mess!), 3.) It was slim (great as an apartment tree!), and 4.) It has pine cones (natural element and built in decoration!). I purchase the ornaments from Hobby Lobby, Macy's, Garden Ridge, Texas souvenir stores and the San Antonio Mercado. You also do not have to stick to only Christmas ornaments for your tree; I used mini Texas flags, mini sombreros, mini personalized Texas license plates, Texas license plate tree topper, and bandannas. I actually recommend using unconventional decorations for your tree to keep it interesting =)
I found great inspiration and tips from
Rebecca on You Tube, she's an interior designer and she knows her stuff!
First, I bought a twine like rope called Natural Sisal from Hobby Lobby. I actually stumbled upon this, when browsing near the aisle next to the jewelry aisle (sorry I don't really remember which section). A big roll of this was only $3.50 and I only used a little more than half to wrap the tree. I began by wrapping the Sisal around the tree. You do not have to make it perfectly aligned (actually the messier the better!). I liked the Sisal because as you wrapped it around the tree it naturally spiraled.
Natural Sisal bought at Hobby Lobby
Sisal on the tree
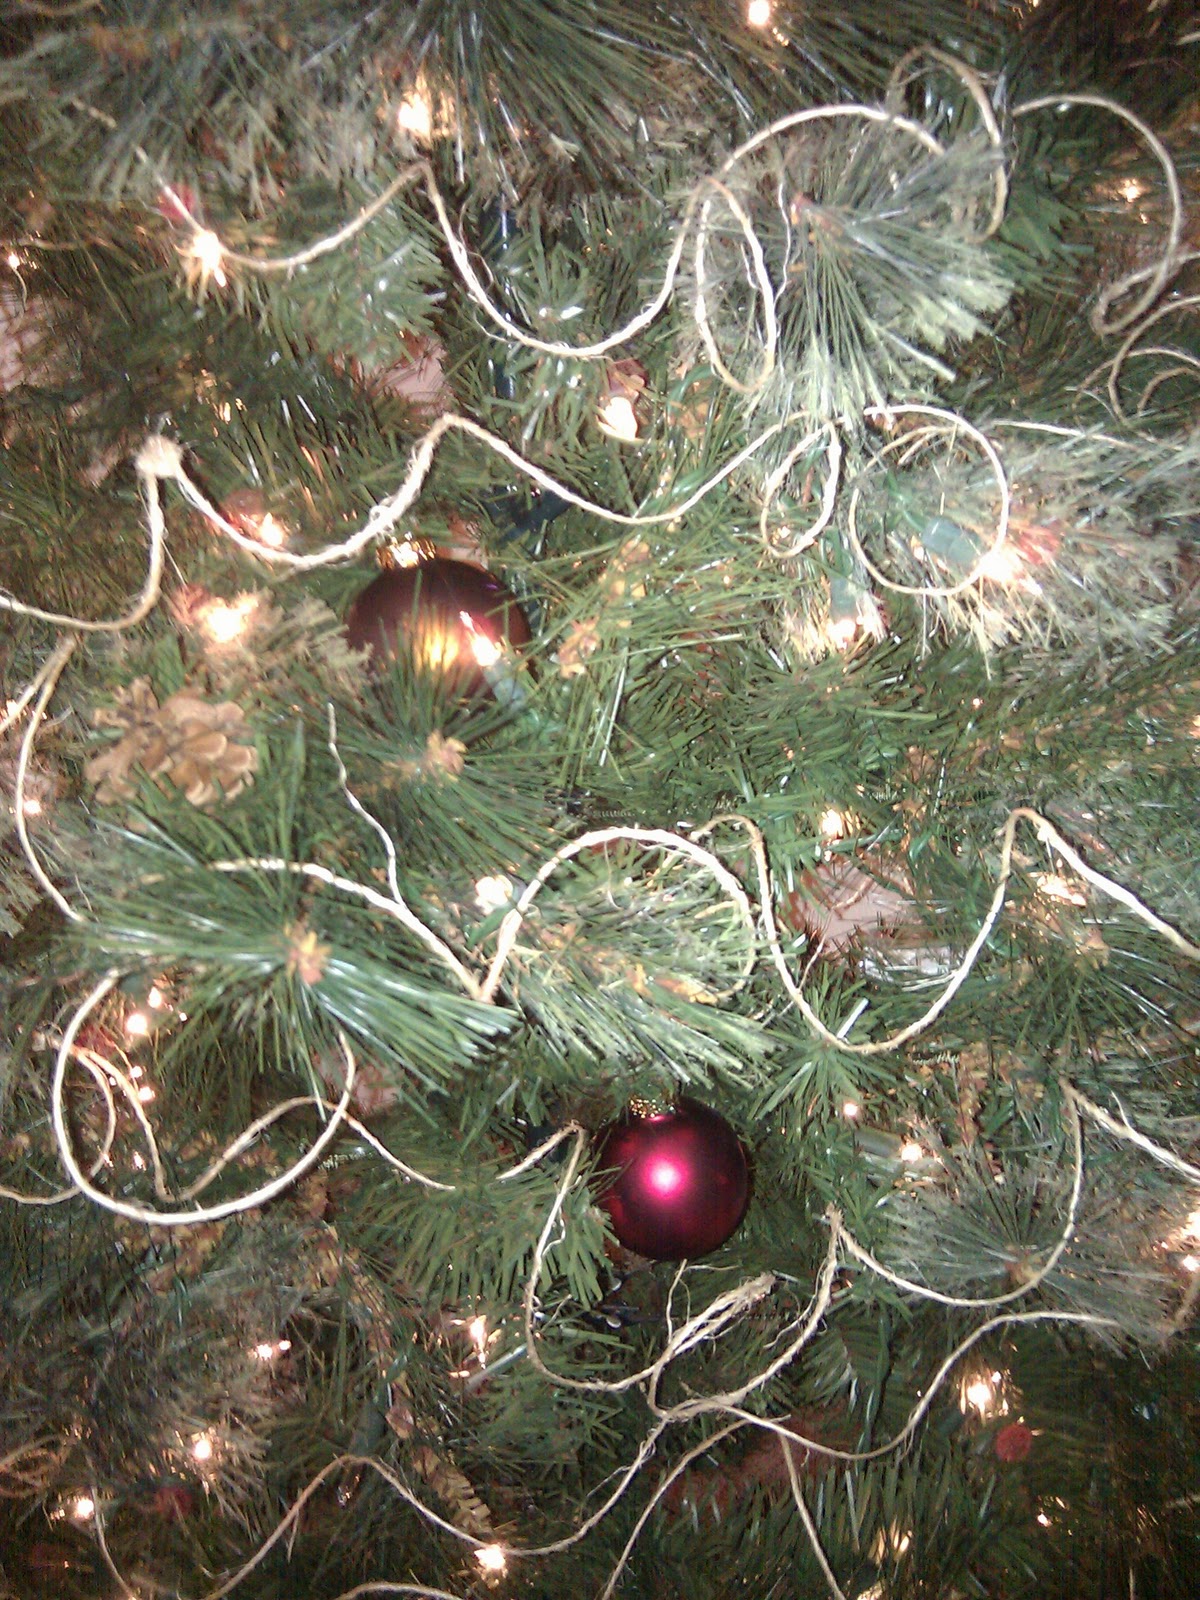
Next, I added the "cheap/plain/boring" Christmas ornaments to the tree. Like Rebecca said in the You Tube video (if you guys watched it) to not only put the ornaments on the outer part of the tree, but she recommends to put ornaments within the tree to draw your eyes in. These filled in the middle and inner part of the tree.
Plain/Boring Christmas Ornaments
Plain Christmas ornament tucked inside and behind the "nicer" ornaments
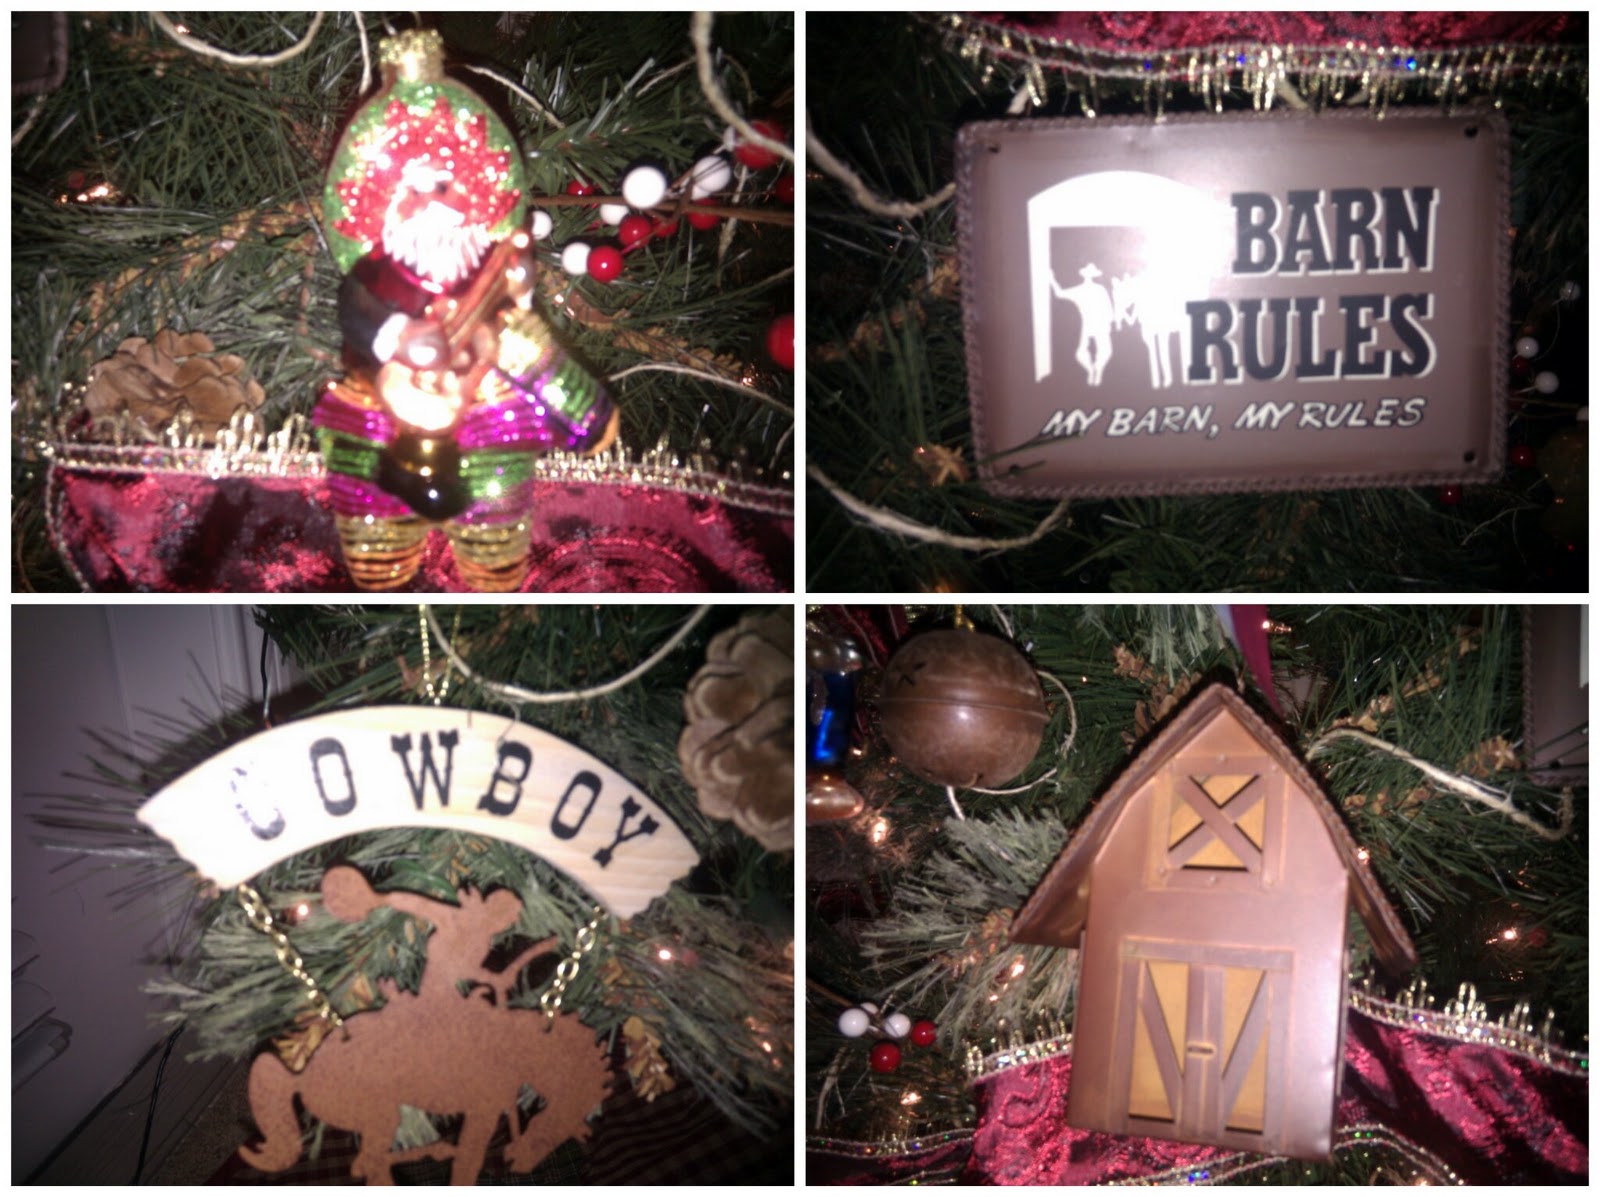
Then, I placed the nicer ornaments and larger ornaments on the tree. I started with the big ornaments (such as the big starts, license places, signs, and roosters). Then, I filled the surrounding area with the other smaller ornaments.
Tree with some of the larger ornaments
Here are some of my favorite ornaments and decorations on the tree...
I bought thick ribbon (2"-3") to wrap around the tree. I began wrapping the ribbon around the tree. I used
this type of technique. Carol does a great job showing how to wrap the ribbon around the tree. I then started adding other decorations that protrude out of the tree (i.e. red and white holly picks, mini Texas flags, and the dark blue bandannas).
Almost done tree =)
I initially bought a typical tree topper from Hobby Lobby, but then I saw a "I <3 TEXAS" license plate at the San Antonio Mercado. I knew this would be the perfect topper and would complete our tree!
Here are some cool pictures I took of our tree...
Tree Topper!
Country Style Tree Skirt
Just to recap, here are some tips:
Layer, Layer, Layer: put plain Christmas ornaments within the tree, alternate between ornaments, ribbon, twine, etc.
Use Different Types of Textures and Sizes of Decor: use rough types of material such as Sisal/twine, use extra large ornaments or decorations
Use Decoration That Are Not Typical Christmas Decorations: license plates, Sisal/twine, metal signs, mini sombreros, mini pinatas, mini flags, and whatever fits your theme (possibilities are endless!)
Make Sure You Have Decorations That Protrude Out Of The Tree: mini flags, bandannas, or Christmas picks...this gives your tree dimension)
Make Sure Your Tree Is NOT Symmetrical: when wrapping the ribbon, secure the ribbon on the tree sporadically and spread the ornaments/decorations randomly...this keeps someone looking at the tree interested and draws them to look at the tree longer, since each part of the tree looks different.
"Rough" Price Breakdown:
-Tree: $80
-Ornaments and Decor: $150ish
TOTAL: $230...priceless